How to make your own Throwing Knife |
 |

Easily build a throwing knife with these Do-It-Yourself photo-instructions.
Every knife thrower toys with the idea to build his own throwing knife. Now with these photo-instructions provided by Christof Weese, it's easy to make one in your basement or garage, without the need for expensive machinery.
Raw material:- Stainless steel, flat, 40x4 mm, cut to a length of 280±0.5 mm.
- Sheet of paper, size A4
- Piece of cardboard 1-2mm, size A4
 Tools:
- Pair of scissors
- Black permanent marker
- Bench vice
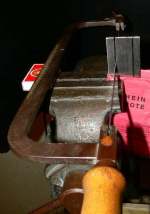
- Hacksaw with a saw blade for metal that is (or can be) turned 90° (see photo on the right and photo 18)
- Half round file,
 coarseness
"bastard", single cut, length 300mm
 - Half round file, coarseness "smooth", single cut, length 300mm
- File with a three square (triangular) shape
- Chisel or screwdriver
- Sandpaper, very fine (
 CAMI grit size 180)
and extra fine (CAMI grit size 320)
 - If you are lazy, of course you can use your bandsaw and electric power-file or even a CNC machine.
I - Finding the right steel
As mentioned above, you need a flat piece of ![]() stainless steel,
with a profile of 40x4 mm and a length of 280±0.5 mm. If you can, have
them cut it to the exact length in the shop. The best steel for the
knife, which in general is on stock everywhere, would be number EN
1.4301 / AISI 304 (V2A) (=X5CrNi18-10). It is available in
different grades of surface finish, from simply milled to sanded on all
sides. The last variant is a little bit thinner (2.7mm), but will make
your life a lot easier when you later polish the throwing knife. An
alternative stainless steel would be number EN 1.4307 / AISI
304L (=X2CrNi18-9).
stainless steel,
with a profile of 40x4 mm and a length of 280±0.5 mm. If you can, have
them cut it to the exact length in the shop. The best steel for the
knife, which in general is on stock everywhere, would be number EN
1.4301 / AISI 304 (V2A) (=X5CrNi18-10). It is available in
different grades of surface finish, from simply milled to sanded on all
sides. The last variant is a little bit thinner (2.7mm), but will make
your life a lot easier when you later polish the throwing knife. An
alternative stainless steel would be number EN 1.4307 / AISI
304L (=X2CrNi18-9).
The throwing knife will hold up well to throws at tree slices. If your target is constructed from dry glulam wood planks or you throw from very close distances, expect to straighten your knife once in a while (simply lay it across two bricks, or place it in the vise bench).
II - The design
 |
.pdf .gif |
Of course you can use your own draft, but for a start better stick with the blueprint designed by Christof Weese, provided in two versions below:
- PDF-Format. Download, open with Acrobat Viewer, and print it.
- GIF-Format. Download, than insert into your preferred word processing or publishing software. Resize to correct dimensions (see marks on blueprint), and print it. Of course you can directly open the file with a graphics editor, but getting the printout to be of the right size will be more difficult here.
When printing, make sure you don't have an option like "fit to page size" activated in the printing options/window. In fact, after printing, I suggest you take a ruler to see if the knife outline really has a length of 28cm on the paper. If you keep having trouble there, do go to a copy machine and work with the enlargement/shrink option until you get a copy with the right size.
For lazy people: Go to the metalworker shop of your choice and have the design cut on their CNC machine. With the design-files in DWG format (size 1 MB, compressed), provided kindly by Jürgen Bönisch, this shouldn't even be awfully expensive. (These files come without the warranty that the machine will like them; As solace, you will also find included the design for a steel-only throwing axe.) If you can go for the CNC option, you might as well start with your own, more complicated design.
Now glue the blueprint onto a stiff piece of cardboard.
Hint: If you hover with the mouse pointer over a photo, a short explanation will show up.
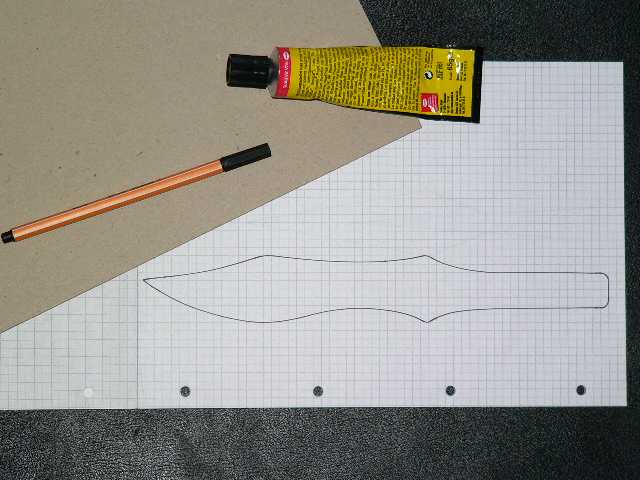 1
1Then cut out the contour of the throwing knife with the pair of scissors, making sure nothing of the black outline remains (sandpaper can be helpful here). Then use some edge or ruler to check the center of gravity of the template: it should be in the middle of the longitudinal axis of the knife, with an allowed shift of 1cm into the direction of the tip. In fact, this deviation is even desired, as the tip will have to be made pointy later.
On the bottom of this page, you can find the blueprint for a heavier throwing knife, if this is more to your liking.
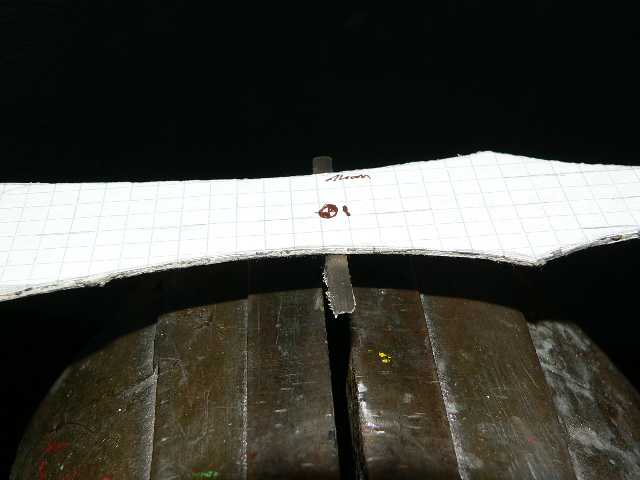 2
2Using a permanent marker, transfer the outline onto the stainless steel.
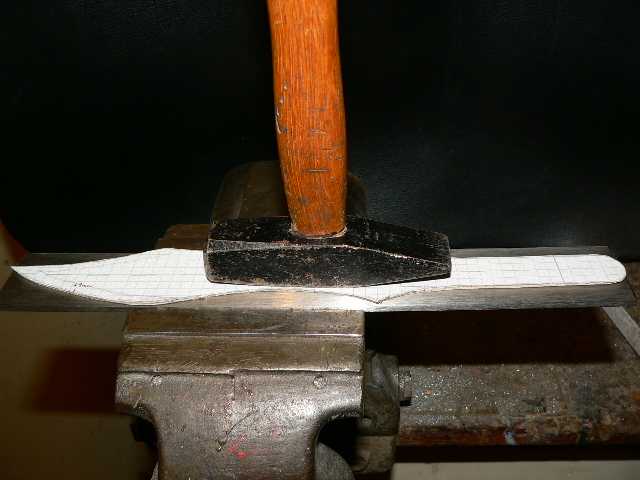 3
3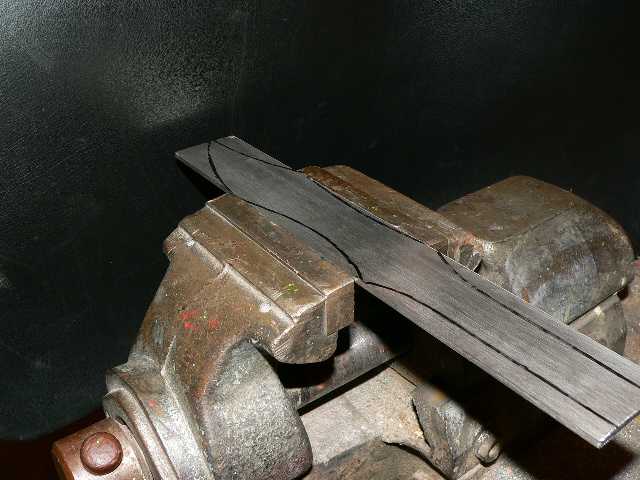 4
4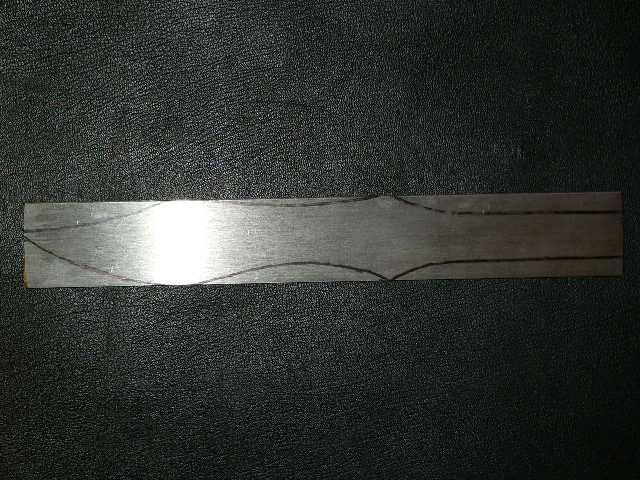 5
5III - Sawing the outline
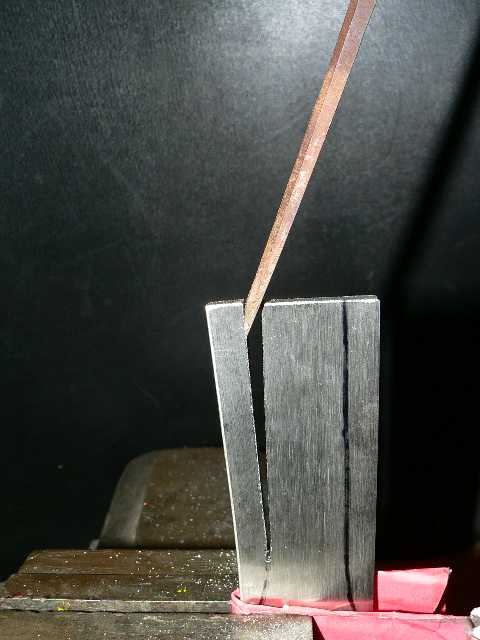
Be sure to always tightly clamp the steel in your vise bench, with only 20mm of metal between saw and bench. More, and it will screech without end. When clamping, make sure your work piece is clean, and also put a thick sheet of paper between steel and bench jaws, to avoid scratches on your knife surface.
When starting to work on a new segment, do not directly use the saw to enter the steel, but first produce a groove with the triangular file! Thus, the ingate will be clean and accurate. When sawing, stay right on the line or a little to the outer side. (What's gone is gone!)
If things get too tight in a curve, use the chisel or screwdriver to widen the gap (see picture on the right).
 6
6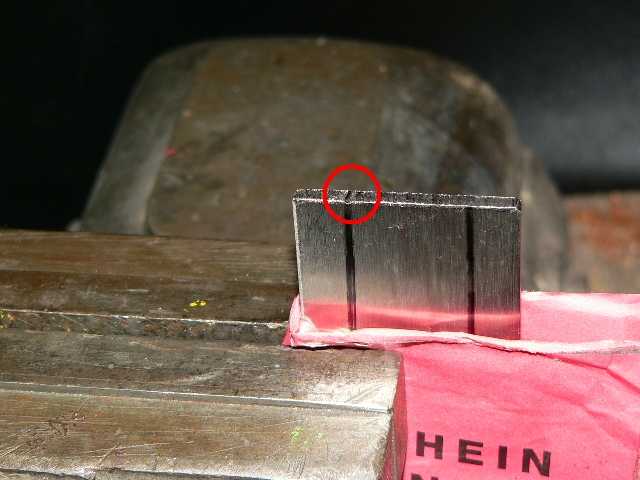 7
7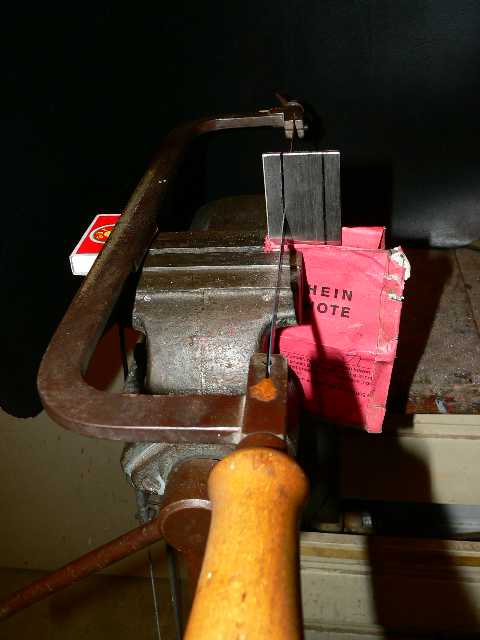 8
8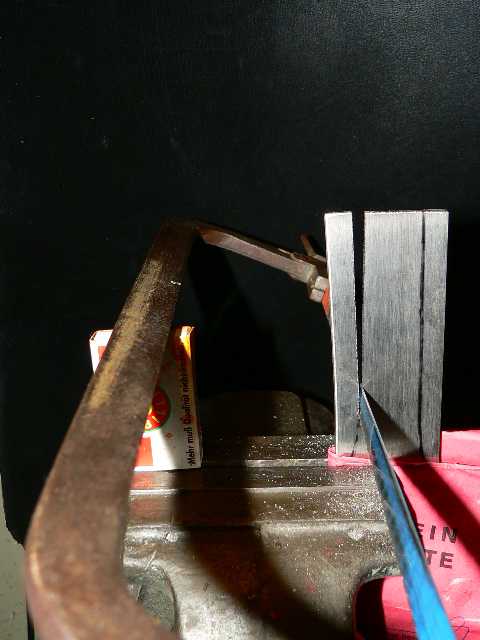 10
10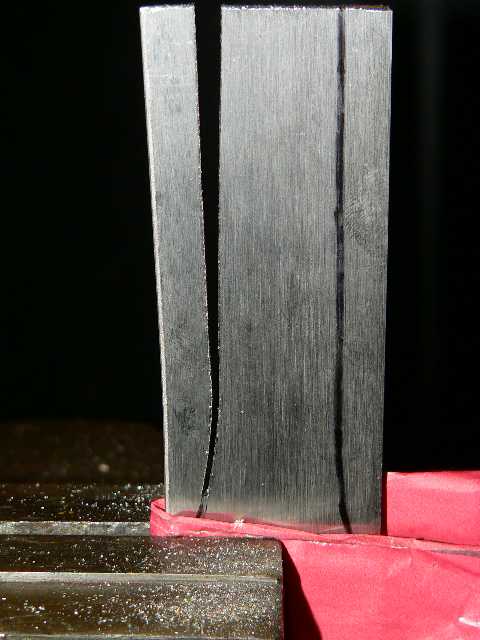 11
11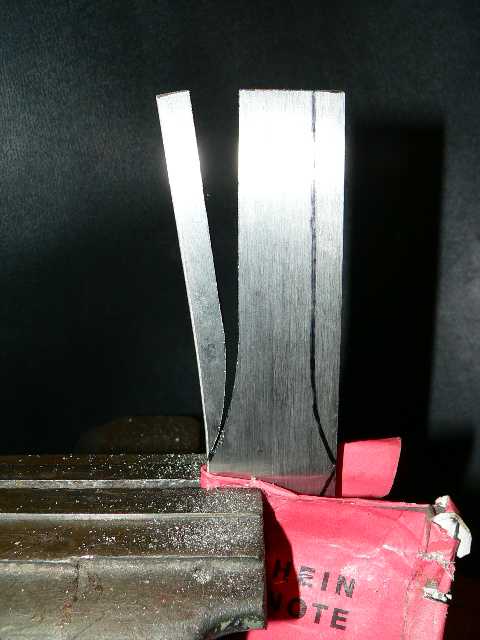 12
12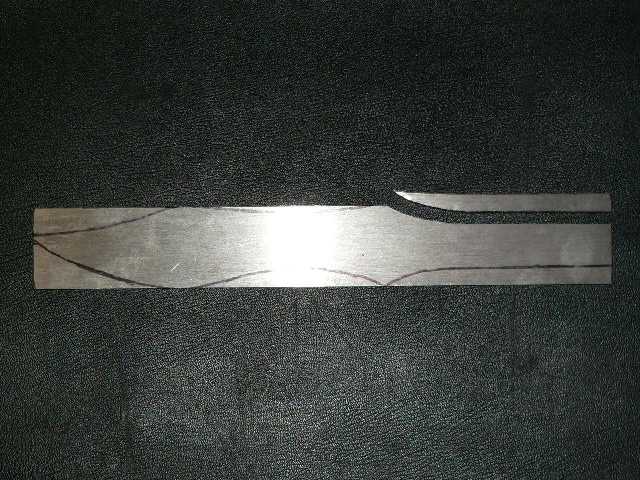 13
13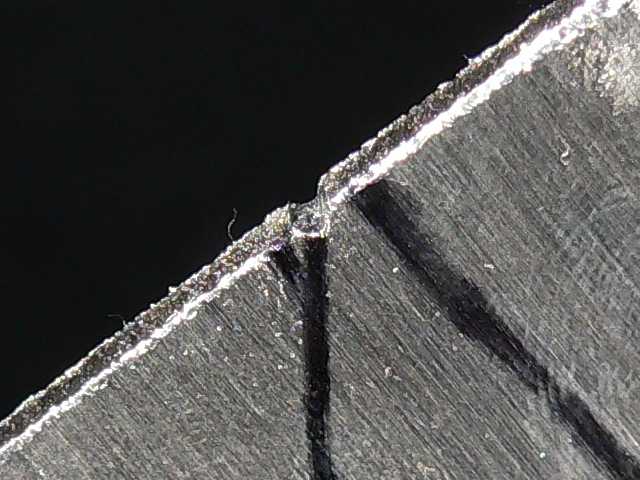 14
14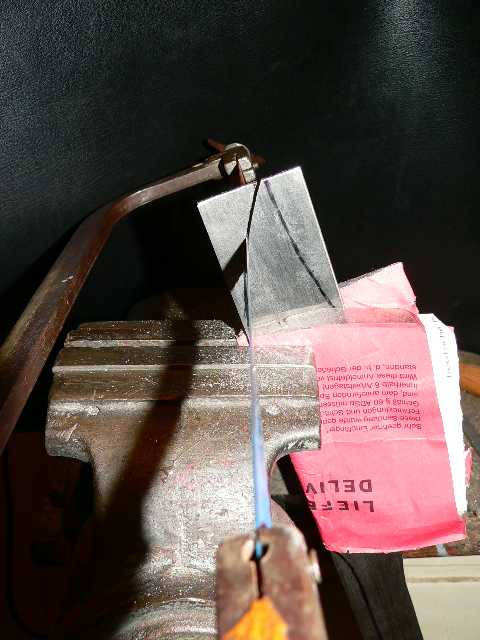 15
15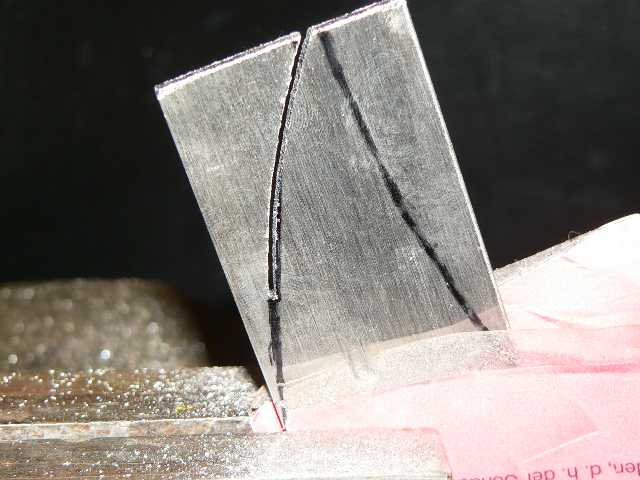 16
16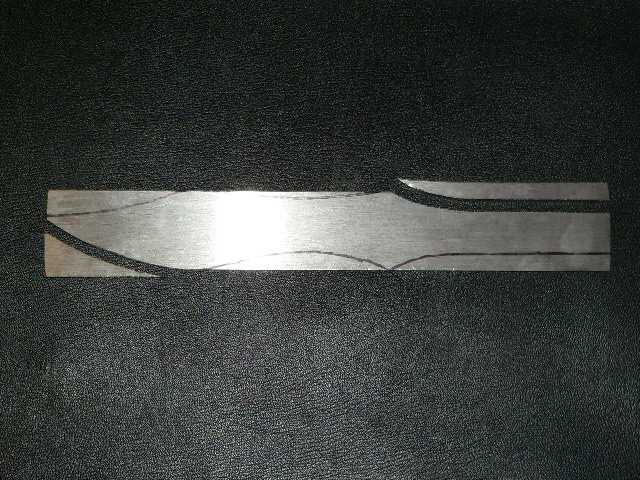 17
17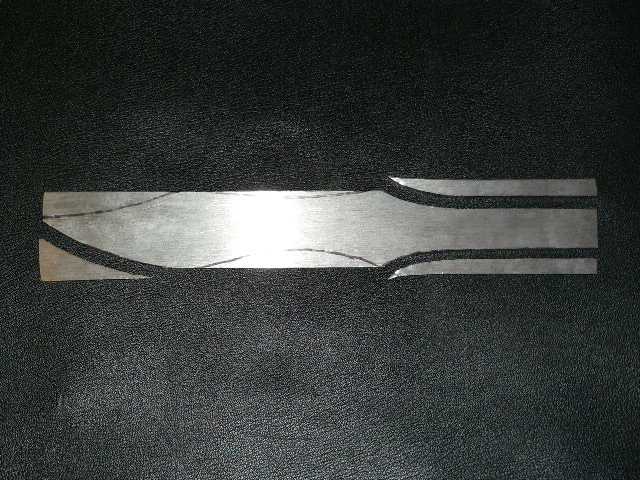 19
19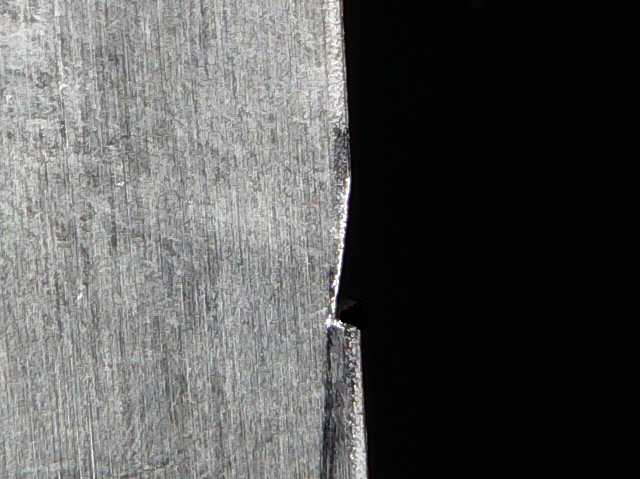 20
20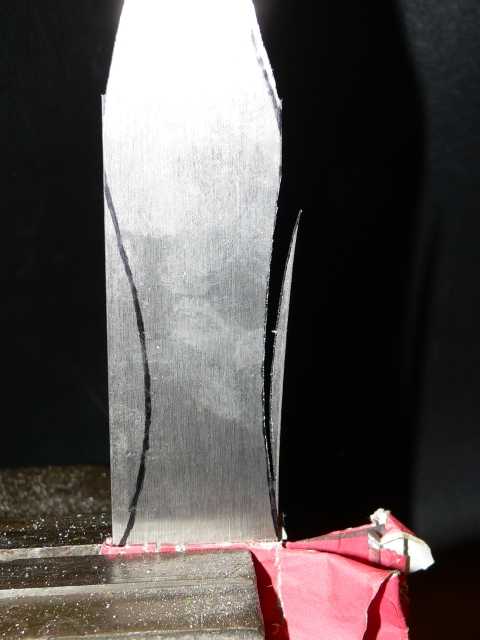 21
21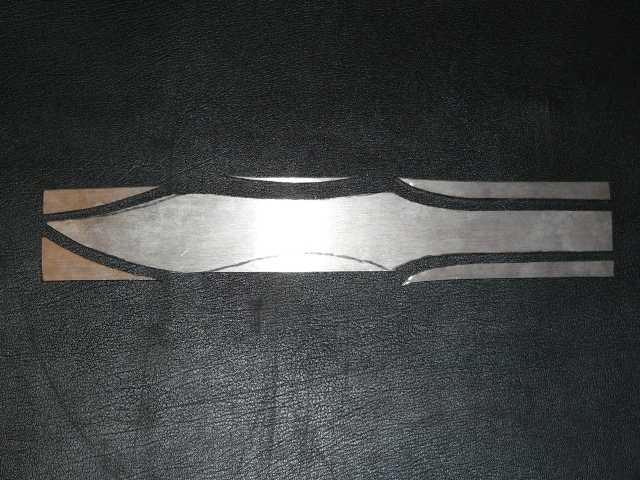 22
22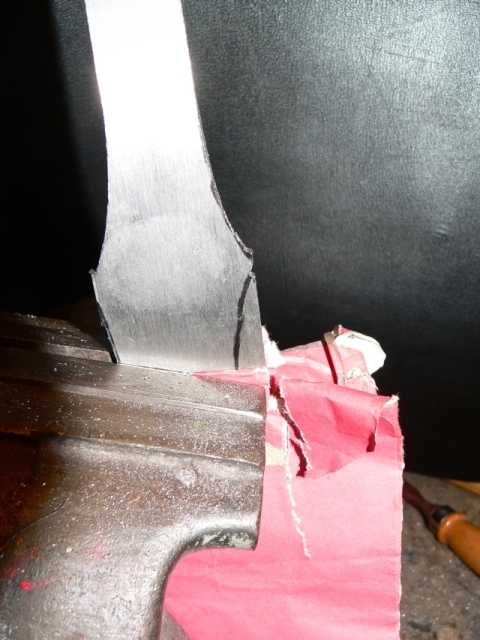 23
23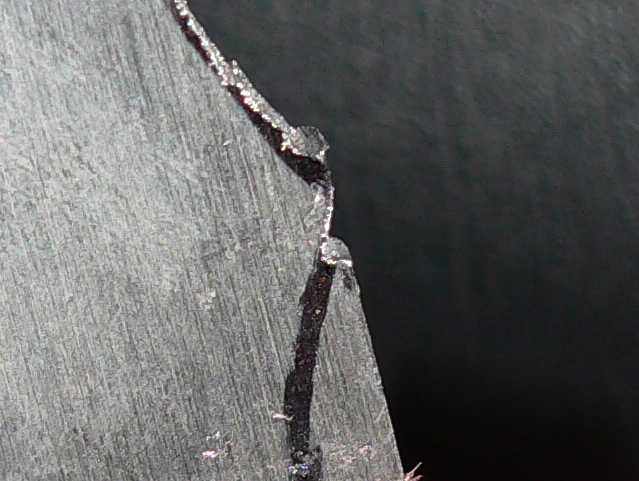 24
24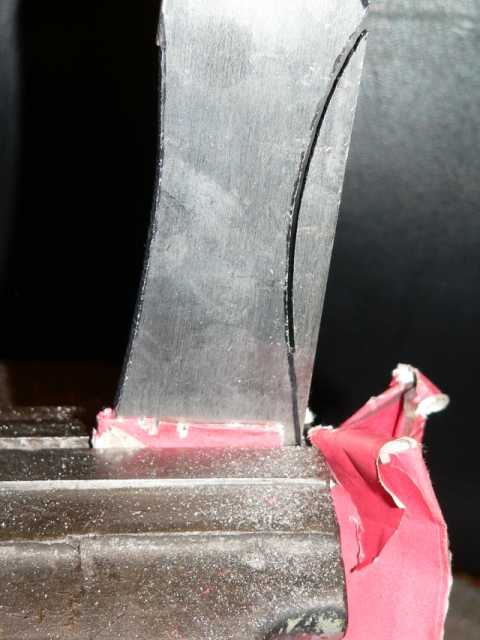 25
25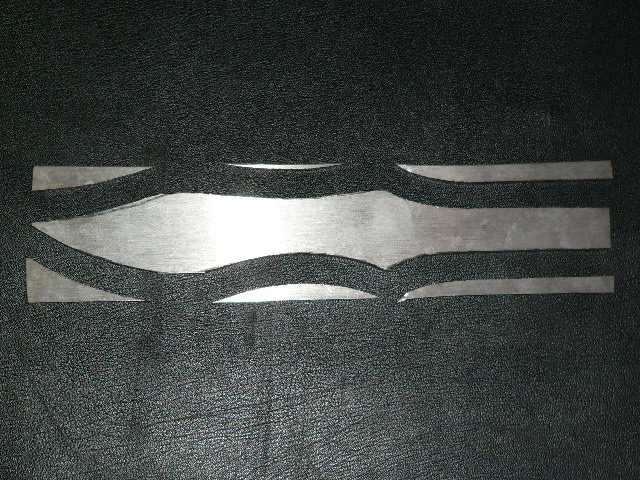 26
26IV - Filing to fit
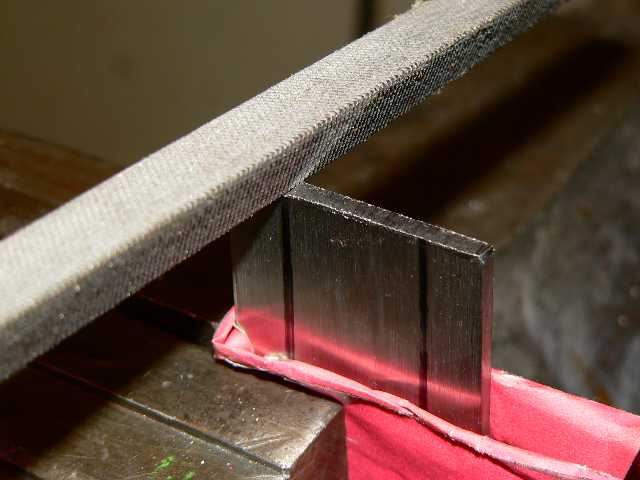
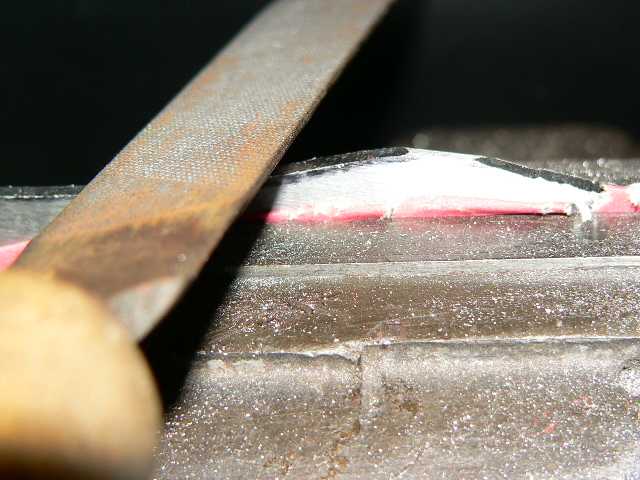
Using the bastard and smooth files, work on the outline until the last bit of the black markings is gone. Also, smooth away any saw nicks. Don't treat the end of the handle yet!
 27
27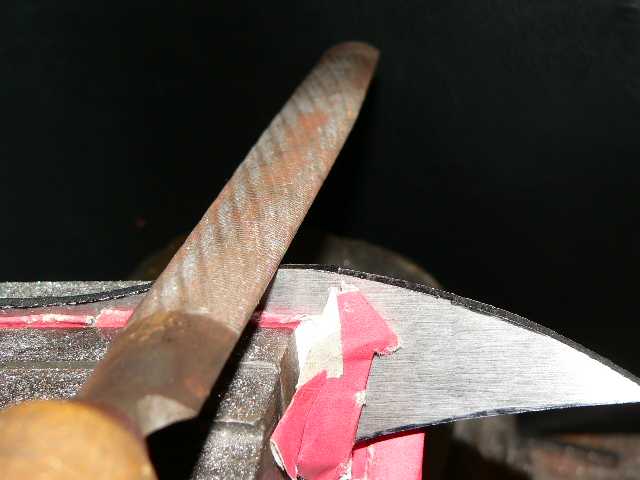 28
28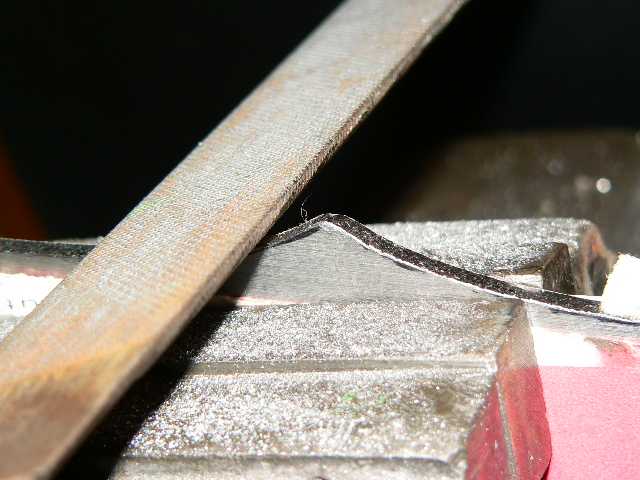 29
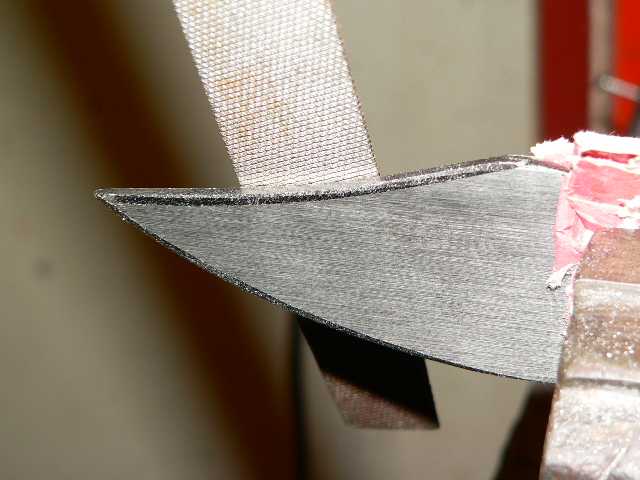
29Now, slant both sides of the blade, that is even the back. But, don't make it sharp, do leave a small ridge of 1-2mm. Thus, you can't slice with your knife, but a hit on a nail or another knife won't immediately destroy it. Only at the tip of the blade, the edges should come together, to allow for a smooth entry into the target wood.
 30
30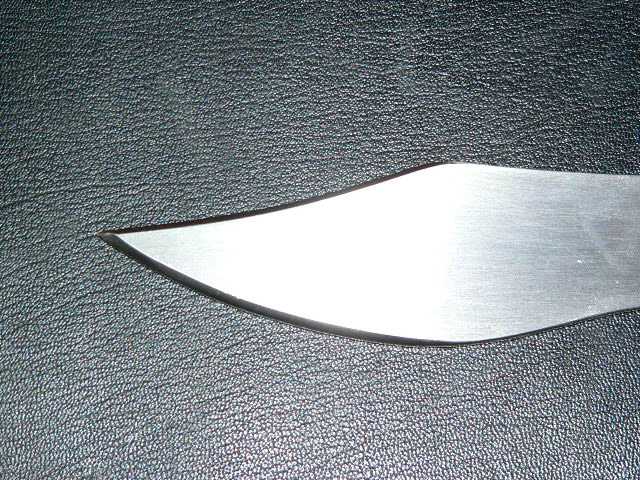 31
31For a smooth and comfortable grip, do round all edges with the smooth file a little. Take care that no sharp parts remain after filing!
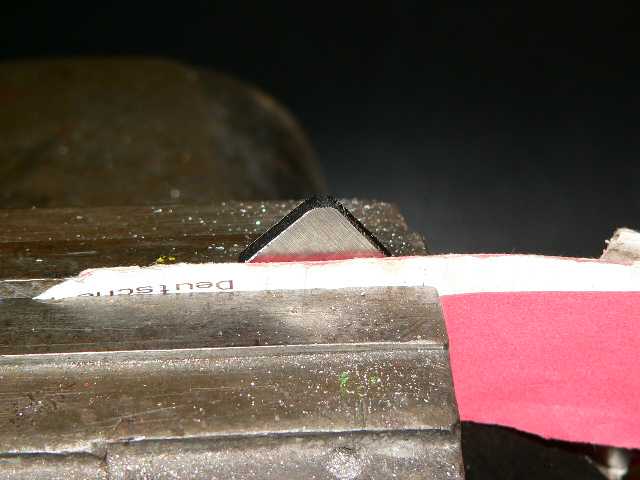
Now you may work on the handle end (using first the coarse, then the smooth file, as usual). The goal is to take away exactly so much steel that the center of gravity comes to lie precisely in the middle of the knife. This should be around 14cm, but please measure for yourself to be sure.
 32
32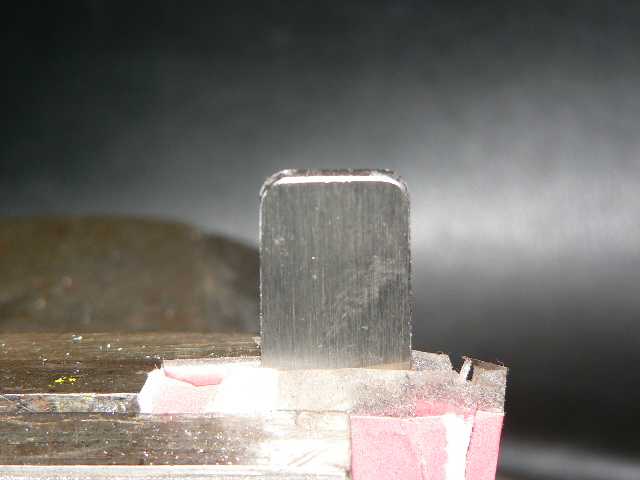 33
33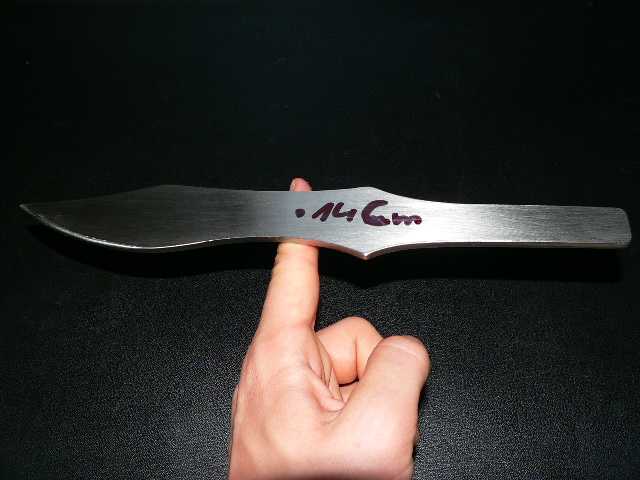 34
34V - Polish it
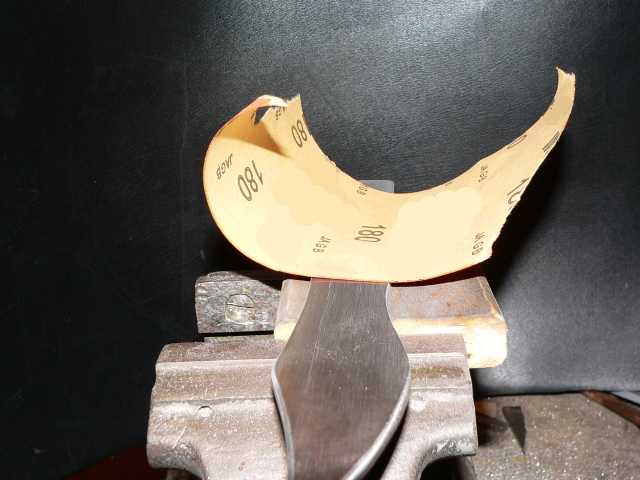
The last step is polishing the throwing knife until you have an even, shiny surface and edges. Wrap the sandpaper around a wooden block to get a good grip.
 35
35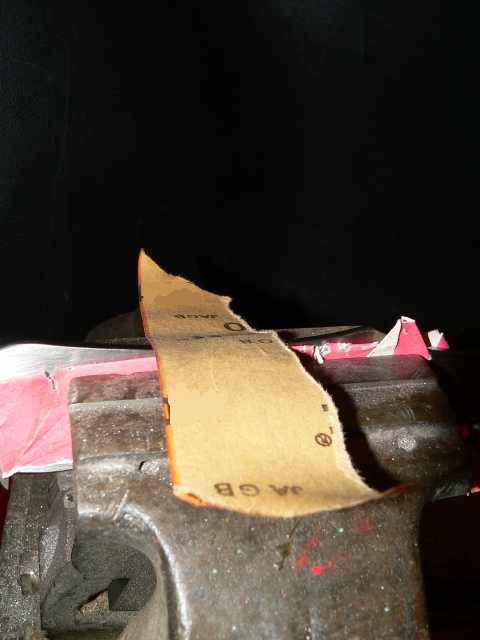 36
36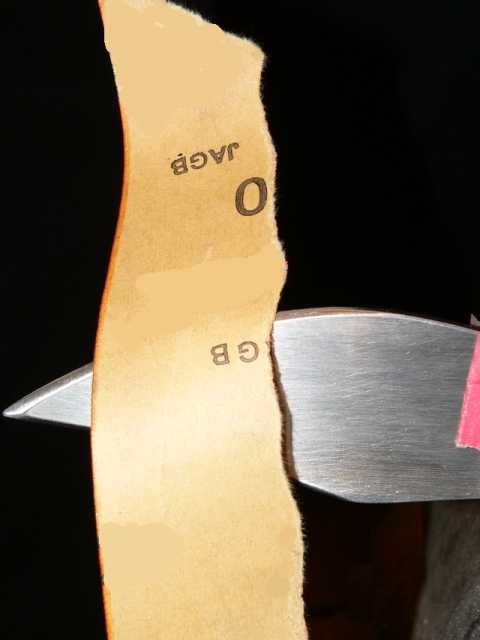 37
37Please: Be careful, and do not throw at trees.
Christof Weese
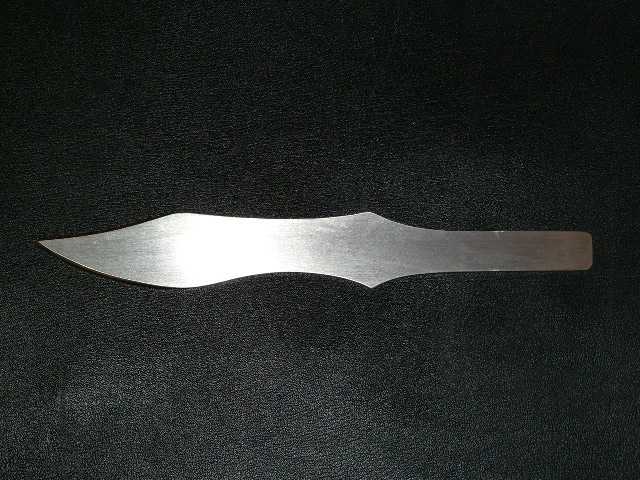 38
38
As raw material for this knife strip steel is well suited. You can get it from the roll at your local plumber or metalworker. Buy it in the following dimensions: width 30mm, thickness 4mm, length 330mm. Just for the curious, strip steel is a construction steel of low hardness, which can not be hardened (but as with any throwing knife, you rather prefer to bend it back in shape than to have it break).
The finished throwing knife will have a weight of nearly 300g. If you want, you can wrap the handle with textile tape of a contrasting color, for looks and an improved grip, and to better find it in the grass.


 Всего: 480
  Новых за месяц: 0
  Администраторов: 5
  Модераторов: 2
 Проверенных: 5
  Обычных юзеров: 163
  Девушек: 45
 9
9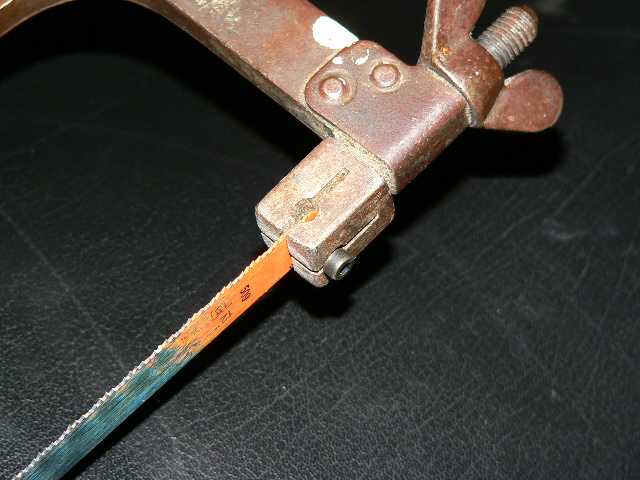 18
18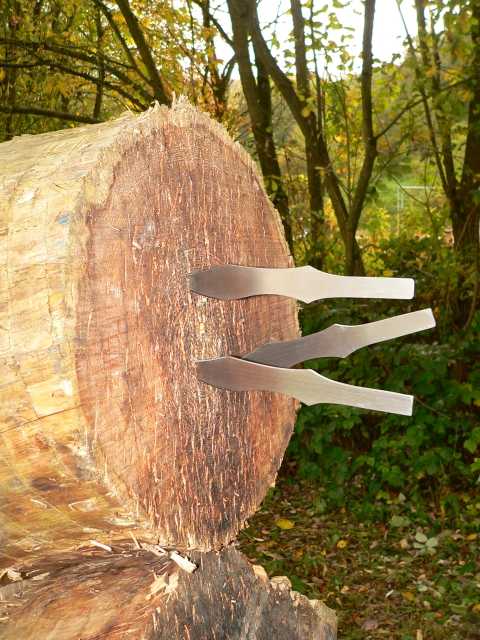 39
39

